Sunday, August 16, 2015

New home for the Holy Frijoles!


Its that time of year again, where I am preparing for the upcoming holiday season which means BEANS! lol  Etsy has been a great home for them over the years but recent changes with their wholesale policy, forcing us sellers to join their $99/year wholesale program for ANY wholesale orders....Ummm nope. That doesnt work for me because the little Bean nativity sets are only sold in bulk around the holidays and they do not make enough money to justify paying to join a whole sale program without drastically raising the price per set. SO as we will still offer them on Etsy in individual sets, the website (theholyfrijoles.com) is active and ready to take wholesale orders, however few and far between they may be. We can take paypal and major credit cards there and ship from there too, just the way we have been doing it since 2005! 


 The Holy Frijoles started out as a fun handmade gift for my father in law, whom is an avid collector of nativity sets and also a man with a great sense of humor. Well he showed everyone and we started getting orders, and those people showed them off and we got more orders! It was quite shockingly viral! Since then we've sold them as high as $20 a set (an ebay auction got crazy bids!) and then on etsy, at craft fairs and now at their own site! So check out www.theholyfrijoles.com and get them before the holiday rush begins!

xoxo,
Gioncarla

Wednesday, November 12, 2014

Lots and lots of changes and growth....

So many new things happening in so little time! I've been swamped. Happily so.
 Our oldest is graduating High school this year our second oldest is about to finish her Junior year early and has most of her college credits done for an associates degree. Our middle child started middle school and our baby is a 5th grader! Our baby is a 5th grader?? how did that happen? LOL

   I fear that the days of blogging are dead, though I do still see a very good therapeutic use for it but then again social media is SO MUCH EASIER to show what I have been working on and I can connect with others so much more there.

 I have been sculpting and painting for personal artwork and sewing and collecting for some upcoming photography. I think I LOVE what I do because I haven't even felt like I need to charge more! I in fact have been doing a lot of free and fun shoots, building my portfolio. Robert has began his Masters degree courses and has moved up into the executive level at work so his time is very much precious. This has been unusual for us, as a couple, married 13 years now, and I was kind of nervous at first but I am finding that we are still both very close and even blossoming in our seperate fields. Its pretty awesome.

  I stopped writing here not for lack of things to share but because echos of the past had come to this sacred space and I suddenly remembered people and their mean heartedness. But I have come to realize that the echo is just that and has nothing to do with me.

  The past 4 years have felt like a HUGE final exam on my past. Like it was time to graduate from the hangups of the past and really evolve into what I need to in order to do what I am here on this earth to do.
  I thank you all dear readers, even those that are not yet comfortable in their own skin to directly speak to me. Its alright. I am grateful for the years and the threads and the clay and the lobster clasps and the photoshop training that the last 4 years have given me and my family.

 For now you can find me on Instagram and Twitter and on facebook  or at our Photography website and facebook page.

 Or here, as I find my blogging voice rather active these days....{HOORAY!}

xoxo
Gioncarla

Thursday, January 9, 2014

Making Lace crowns for babies

You may have seen the latest photography trend, infants wearing cute little crowns made of lace. Oh they are so cute and really can be pricey but if you are like me you know that you can make them yourself using virtually any type of lace and its actually not that hard to make! (I apologize in advance but I took these photos with my cell phone late at night)


You will need:

  • Lace of any color, by the spool, not the fabric yard of lace though it could work if you have the patience to cut it into strips. I don't so I get it by the spool.

  • Freezer paper- do not use regular wax paper, please! get the plastic coated freezer paper. TRUST ME it saves lots of frustration! 

  • Liquid Fabric Stiffener. I use Stiffy fabric stiffener by Plaid that I get at Hobby Lobby

  • A sponge brush or paint brush
  • Hot glue gun

Now depending on what size you want you will be cutting your lace in a length that will work for the size that you wish. An average newborns head circumference (according to the google) is about 14inches around so if you are making it for a newborn you may want to make it a bit smaller so it will rest just on the top of their precious heads not so much to wrap around their heads- understand? Unless that is what you want.

You can also make this for older children or for yourself!

So once you decide your size cut the length of lace that you want

Then lay the lace straight as you can on the freezer paper.  Now you dip your sponge brush or paint brush into the liquid fabric stiffener and gently dab it onto the lace, making sure you really get it into each little nook and cranny. Turn over the lace and do it again.

Now let it dry for an hour or two.

 You are looking for it to be firm yet able to bend it into a circle evenly. If it is way too pliable or if you would like it to be more sturdy then you can repeat the dabbing of liquid stiffener again and then let it dry again for another few hours or overnight.

 Once its completely dry you simply bring the ends to where they just cross over and form a circle and you hot glue the ends together.


  Make them any circumference that you want! You can also add small comb or clip for people with lots of hair that wish for their crown to stay put.


 See how cute they look on the baby! ( I used one of the ones I made above for this photo below!)


 Also you can add rhinestones or beads with the hot glue to add a little bling to the crown! Or even add some glitter to it after adding fabric stiffener, while its drying! That might be fun!

IN any case these are too much fun and can be used for many purposes. Experiment and have FUN!

So there you have it. How to make crowns using lace. Happy crafting!!

xoxo,
Gigi


Saturday, November 16, 2013

Now for the Return...

So I've decided to reopen the blog! I keep myself real busy in other social media but my heart just longs for  blogging. There is not much more to say about it. I just miss it!

  Sooo we took a long break from working our Art Of The Craft Studios shop on Etsy and put most of our energy into our passion for photography and opened Art Of The Craft Studios Photography and it was a HUGE success!! Huge I tell ya, it even surpassed my wild imagination, and that can be pretty wild. :-) I found myself making props and scheduling this, working around that, sewing this, painting that, ordering this, contacting this person or that person then one day it hit me.... I am FINALLY pulling all of my talents and desires for creativity into one! How exciting it was! AND getting paid to do it. I tell ya, there is no greater joy then that.

 So lately I have gotten lots and lots of questions like "how did you make that?" and "Oh where did you get this?" when I show up with props on my photography gigs, even selling some of my handmade props on occasion at the photo shoot. Being that we don't have a brick and mortar studio, we often shoot on location or outdoors and most recently in our new home studio. Its small but it works! Now that its cold outside it is necessary.
 Last year we worked ourselves into exhaustion and are now more wise and more careful as to which jobs to take and also how to 'unplug' after a full day. I mean, don't get me wrong, I LOVE what I do. But I have always had trouble letting go of the day when it comes time to rest. But no more of that, Robert and I both have changed our priorities and are both committed to not letting stress go too far within. I am so glad I have him by my side in this life, I tell ya I could not and would not like to imagine what it'd be like without him! So we both agree that putting time back into our Etsy shop is good for us both! 

 Anyhoo, I though I would re-open this blog to be all about our handmade props, jewelry and clothing, also offering them for sale in our Etsy shop and showing them here in more detail. Also I will be showing the creation of some in photos, from start to finish, in order to INSPIRE others to try it! Yes it will be ALL about the art of the craft!! Just like our business namesake! Oh how excited I am about this!

 So I do hope you will join me in this new adventure here! Get your glue guns ready folks its going to get crafty around here!

xoxo
Gigi

Wednesday, April 4, 2012

Road Trippin'

Our spring break was last month for the kids so we decided to take a little road trip along old route 66.

We drove just about two hours out of Albuquerque to Ft. Sumner to pay our respects to William H.Bonney a.k.a. Billy the Kid's grave.

Prior to our trip we had them watch the film Young Guns to get up to speed on why Billy was so darn cool! lol Yes we have taught our children to love history through movies, just as we learned to love it!

Then we explored the charming little town of Santa Rosa, NM

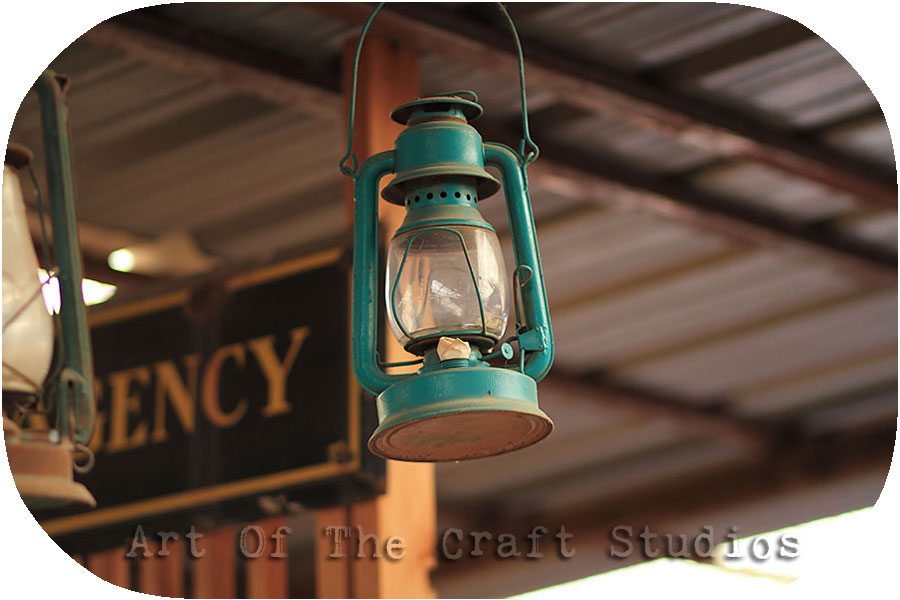
Here are some great shots of our trip!


 In "Old Ft. Sumner" we visited the grave....


 We learned that they had to cage off the grave due to people chipping off souvenirs from the headstone.


 Then back in Ft.Sumner there is a cool Museum dedicated to Billy the Kid.
There was a great collection of items from the time period that he lived.


 Also a great replica of Billy the Kid's gravestone.


 My kiddos playing in the fun photo props outside of the museum, thought a little B&W editing would be appropriate!


 Below is a photo of William H. Bonney at age 13! Pretty cool!


 A cool old Funeral Carriage. I just liked the way it looked HAD to photograph it!


Then we decided to stay the night in Santa Rosa and the next day we set out to explore the tiny but beautiful town!

They had the Route 66 emblem stamped into the concrete of the little downtown sidewalks.


 Beautiful downtown Santa Rosa, NM


 The beautiful courthouse building in Santa Rosa.


 Below is a photo of the Lake City Diner...OH MY GOSH was the food AMAZING there! Now go there expecting to wait because the food is all homemade style. Better than home made in my experience! LOL but the Ambiance is great, it was an old bank and they left the vault door on that now leads into the kitchen, the tin cieling tiles are original as well as the marble tile floor. There are photos of the original bank, the way it looked in the 1800's. Its TOO cool!

 Inside the Lake City Diner


 The glass above the door is all original! Its just gorgeous!


 We happened to find this gorgeous building the St. Rose of Lima church ruins. Circa 1800. Its just lovely!


 Then we wandered around and found the aptly name "Blue Hole"...


It is literally an 81 foot deep vertical cave filled with the clearest, bluest spring water that you have ever seen!

While I was shooting from the top with my family suddenly a little teenaged girl in a bikini jumped out in front of my camera and this is the shot I got, quite inadvertently, but nevertheless thrilling!


The same daredevil teenager swimming back to the stairs, the water is so clear you can see far below into the deep. 

 Brave divers lined the top of the ledges and we enjoyed watching them jump into the deep cold water and though it looks like a short drop from below, from up top it might as well be a jump off of an airplane...LOL


You can see by the lack of leaves on the trees that it wasn't quite spring yet, though 61 degrees outside the water felt like ice water when I dipped my foot into it, so there was no swimming for me! But maybe next time, in June or July preferably!

Well, Thanks for coming along on this photographic road trip! I hope you enjoyed the little bit of exploration of New Mexico. We are planning another trip soon, hope you'll come with!

xoxo
Gigi


Friday, March 23, 2012

Studio Magic

As we learned from Conan the Barbarian....metal is strengthened with fire...yada yada yada...

But in the case of Copper PMC it is CLAY that become strengthened with fire....or as we call it around here "Studio Magic" happens...

 Just had to share a little studio magic with you. earlier this week...

This......


Became THIS.....


all with the help of the heat from this....


and a little help from me of course....:)

There is a WHOLE LOT of little boring steps in between but you get the Magic part with what I have shown you here dontcha?

So in this briefly illustrated nutshell, THIS is why I never get tired of making metal clay pieces!

And now you know.


xoxo
Gigi